7 Methods for Constructing a Home Bee Observation Hive that Stirs Astonishment
Welcome to our guide on building a bee observation hive at home! This fascinating project allows you to observe live honey bees up close, making it an educational and enjoyable experience for both children and adults. Here's what you need to know to get started.
1. Acquiring a Quality Observation Hive Enclosure
First, you'll need a high-quality observation hive enclosure. This typically consists of a wooden frame with glass sides, designed to accommodate one to several frames of bees. Look for a well-made, aesthetically pleasing hive with clean, uncracked glass and secure fixtures like latches and handles.
2. Choosing the Size of the Observation Hive
Next, decide on the size of your observation hive. If you're new to beekeeping, a small colony setup with one deep and one shallow frame might be suitable, offering enough space for both brood and honey and ideal for short visits and teaching. For longer-term study or display, consider a larger multi-frame hive.
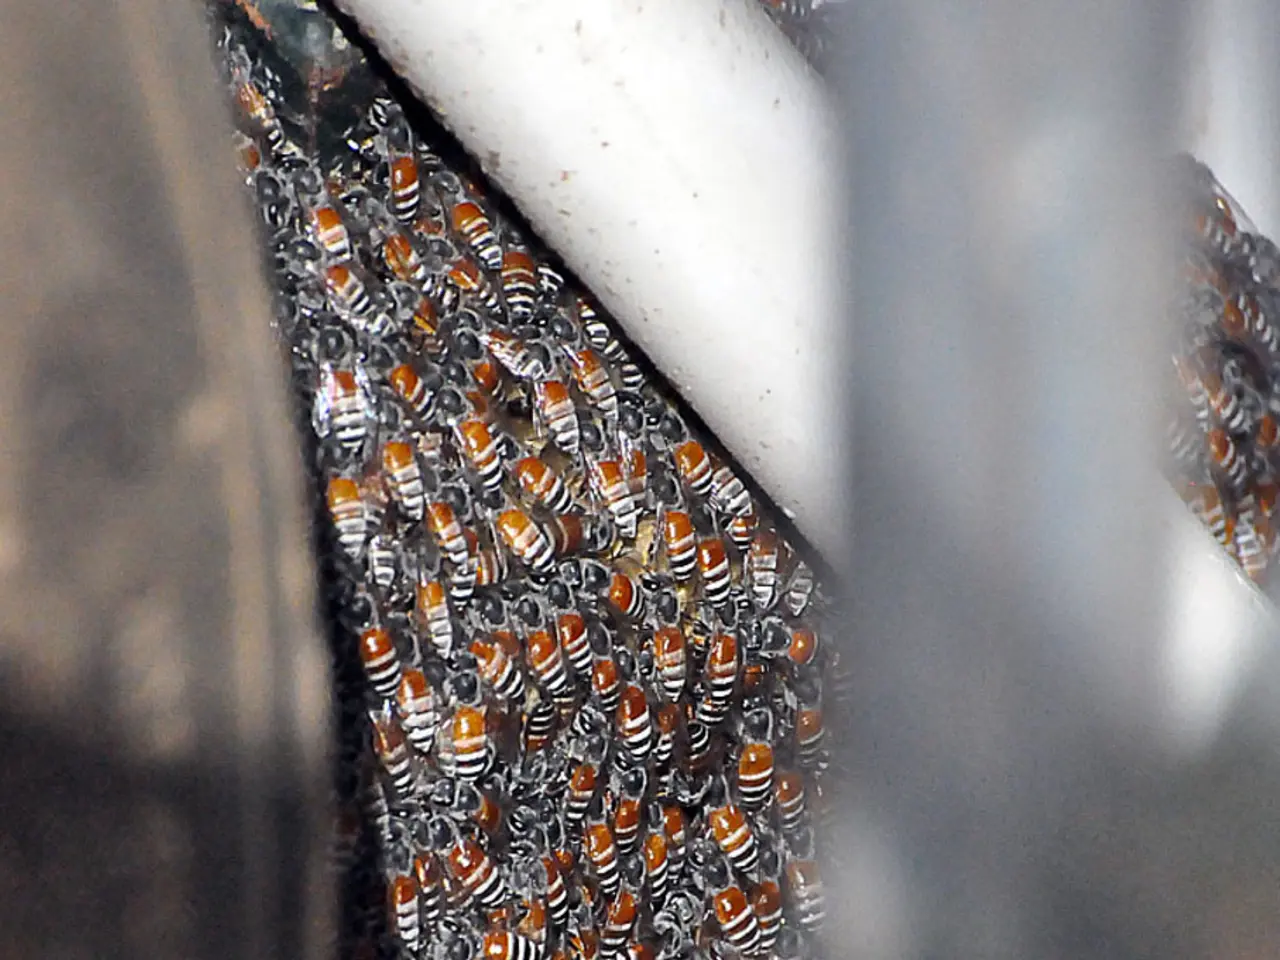
3. Preparing and Inserting the Frames
After securing your hive, carefully insert the frames from the bottom up, taking care not to crush bees or damage the comb. If necessary, remove one glass panel to make insertion easier.
4. Securing the Hive and Providing Ventilation
Ensure the hive is closed securely to prevent bee escape but allows for ventilation—sometimes small vents or mesh areas are installed. This balance is crucial for maintaining a healthy colony.
5. Installing the Hive in a Suitable Location
Place the observation hive where temperature and lighting conditions are appropriate for honey bee activity and the display of comb. A sunny, sheltered spot is usually ideal.
6. Regularly Monitoring and Maintaining the Hive
Observation hives typically require attentive care to maintain colony health and to avoid stress or overcrowding due to the hive's small size. Regularly monitor your hive, and don't hesitate to reach out to local beekeeping associations for advice.
Additional Tips for Building and Maintaining Your Observation Hive
- Secure the tubing with metal clamps at both connection points to prevent disconnection during bee activity.
- Install moisture-absorbing materials like silica gel packets in discrete corners of the hive frame during humid seasons.
- Check your colony's behavior through the glass panels twice daily for the first week without opening the hive.
- Fine mesh screens should be secured over all ventilation openings using wood screws and washers to prevent pest intrusion.
- Inspect ventilation screens quarterly for clogs from pollen, dead bees, or debris that could restrict airflow.
- Transfer the queen cage last, ensuring she's released properly into the colony after worker bees have settled.
- Create a removable cap system for the outdoor opening to seal the connection when the hive isn't active during winter months.
- Install rubber gaskets between the adapter plate and window frame for additional weather protection.
- Clean your glass panels weekly using a soft cloth and ammonia-free cleaner to prevent streaking.
- Install a slight downward slope toward the outdoor exit to prevent water accumulation inside the tube system.
- Resolve bee clustering at the entrance by checking for obstructions in the tubing system or insufficient ventilation.
- Address fogged glass immediately by improving ventilation or adjusting humidity levels within the hive.
- Choose screens with 1/8-inch openings that allow airflow while blocking larger insects and debris.
- A 3/4-inch clear vinyl tubing is used to create a direct pathway from the hive to the outdoors.
- Weatherproof caulk should be applied around screen edges to create a sealed barrier that maintains ventilation effectiveness while preventing moisture infiltration.
- Cross-ventilation is encouraged by installing primary ventilation openings on opposite sides of the hive.
- Apply marine-grade silicone sealant around all outdoor connections to prevent water infiltration and air leaks.
- Drill a 3/4-inch hole through the adapter to match your tubing diameter.
Purchasing Starter Colonies
When purchasing starter colonies, opt for those from certified local beekeepers who specialize in observation hive stocks. Additionally, contact beekeeping associations in your area to find reputable suppliers who health-test their colonies for common diseases like Varroa mites.
With these steps, you'll be well on your way to building a thriving bee observation hive at home!
- To complement your observation hive, consider investing in home-improvement items such as quality tools for assembling the hive and installing ventilation screens, ensuring a secure and efficient structure.
- Furthermore, to truly enrich your home-and-garden space, you could also integrate vertical gardens or flowering plants around your observation hive, providing a haven for bees and enhancing the aesthetic appeal of your outdoor area, all while promoting a sustainable lifestyle.


