Create Your Own Swirled Mugs Using Nail Polish (Include Video)
Transform your ordinary mugs into unique, marbled works of art with this easy and budget-friendly DIY project. With each mug costing less than $1, you can create multiple pieces for yourself or as homemade gifts.
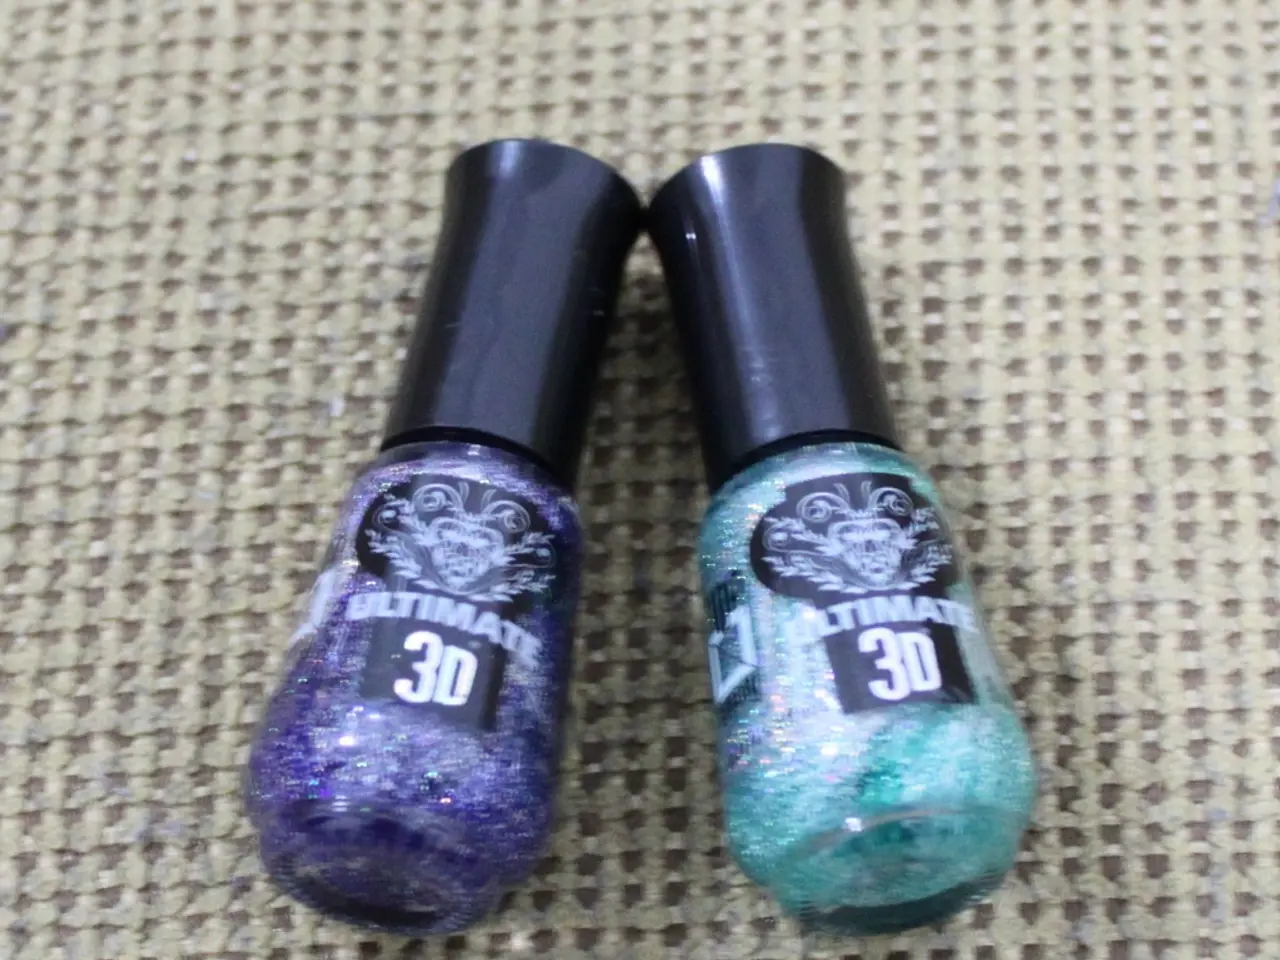
Here's what you'll need: - Mugs (available at Goodwill) - Nail polish (use existing polish at home) - Dishwasher Safe Mod Podge - Printable sayings (optional) - Die cutter and permanent vinyl (optional) - Toothpicks - Acetone - Cotton swabs - Disposable water basin
Follow these steps to seal your nail polish mugs for dishwasher safety:
- Apply the nail polish on the mug surface and let it dry completely.
- Use a thin, even coat of Dishwasher Safe Mod Podge over the painted or polished areas.
- Let the Mod Podge cure fully; ideally, it takes up to 28 days to harden into a durable, top-shelf dishwasher safe finish.
For extra durability and food safety, some recommend baking the painted mug in the oven at 350°F for 30 minutes before sealing with the Dishwasher Safe Mod Podge. However, this is more commonly noted for painted plates.
Additional care tips: - Even with Dishwasher Safe Mod Podge, hand washing is usually recommended to prolong the life of the design. - Ensure the Mod Podge is applied evenly and completely covers all polished areas to prevent chipping or peeling during washing.
The Process
- Pour hot water into the container.
- Add drops of nail polish into the water.
- Swirl the water with a toothpick to create a marbled effect.
- Dip the mug into the water, making sure to only dip below the lip line for health reasons.
- Remove the mug, let it drain, and use nail polish remover to take excess polish off the bottom.
Working quickly is essential as the hot water will keep the nail polish from drying too quickly. Once your mug is decorated to your liking, allow it to dry on a paper towel, top down.
This DIY project is suitable for beginners and makes for a fun and creative afternoon activity. A video demonstration of the marbled mugs making process is available online for further guidance. Enjoy creating your own unique marbled mugs!
With your new marbled mugs adding a unique touch to your lifestyle, you can now raise your coffee or breakfast cereal with home-and-garden charm in every sip. Arrange these DIY creations on your dining table to elevate your home-and-garden decor.


)