Guide for Unclogging or Replacing a Pop-Up Sink Drain to Restore Bathroom Sink Functionality
Pop-up sink plugs, with their convenience and sleek design, are a common feature in many bathrooms. However, they can sometimes develop problems due to their intricate mechanism. Here's a comprehensive guide on how to fix or replace a pop-up sink plug.
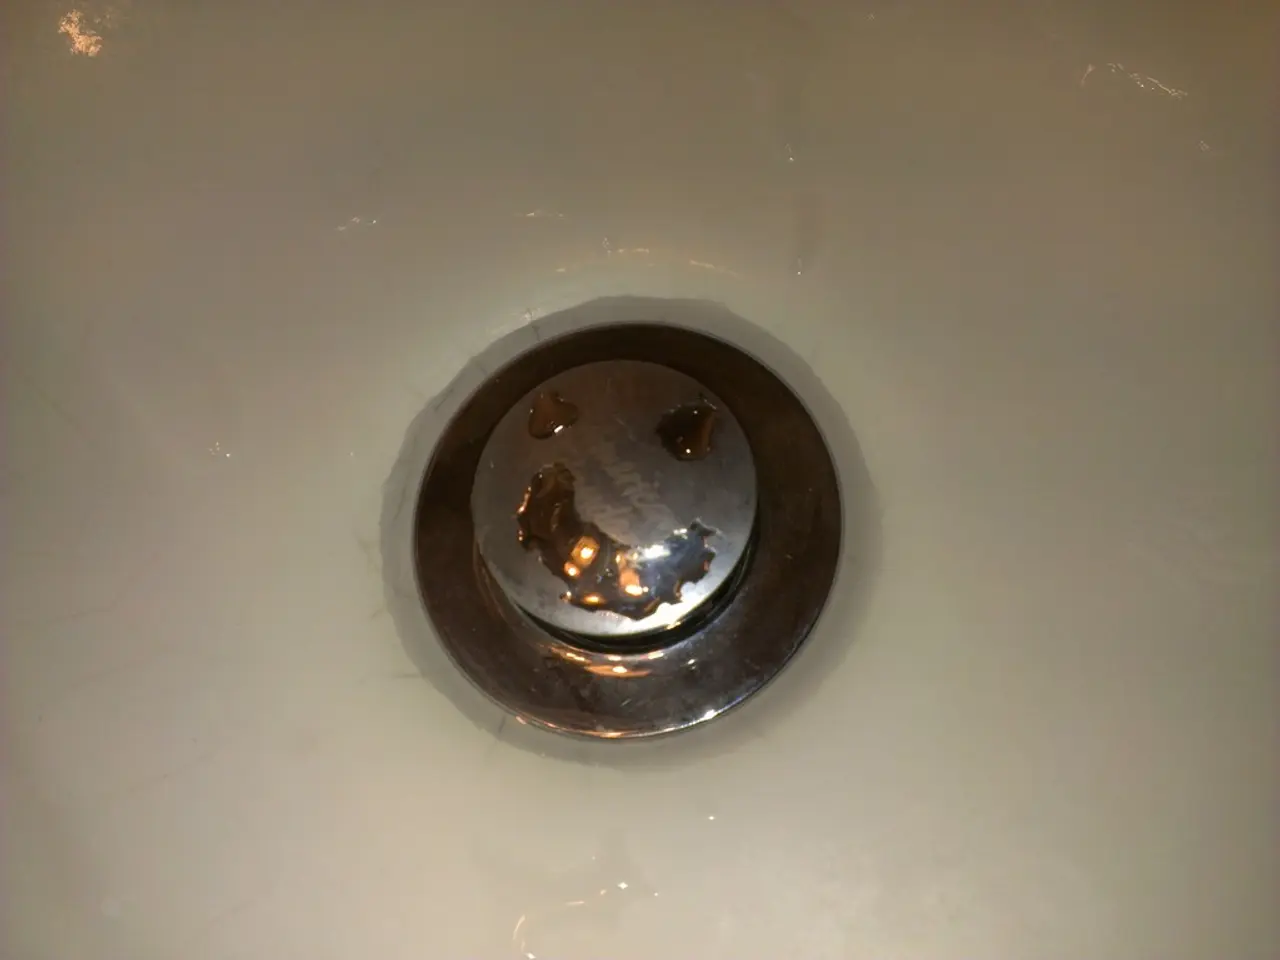
Removing the Stopper
The first step is to remove the existing stopper. Lift the stopper, then twist and pull it out or detach it by loosening a nut or clip from underneath the sink.
Inspection and Cleaning
Once the stopper is removed, clear any hair, debris, or mineral buildup around the stopper and drain area that may prevent the stopper from sealing or moving freely.
Checking the Linkage
Under the sink, the pop-up mechanism consists of a horizontal pivot rod connected to a vertical lift rod. Ensure these rods are properly connected and move smoothly without obstruction or hitting the wall.
Replacing Damaged Parts
If the stopper, ball rod, or pivot assembly is broken or corroded, replace the parts or purchase a pop-up drain repair kit that includes rods, nuts, gaskets, and the stopper to fix most issues quickly.
Common Reasons for Pop-Up Sink Plug Failure
Common issues include hair and debris clogging or jamming the stopper, misalignment or disconnection of the lift and pivot rods causing jamming or failure to hold position, worn or corroded washers, gaskets, or moving parts impairing sealing or movement, and mechanical damage from excessive force or wear over time.
Maintenance and Cleaning
Regular maintenance can help prevent these issues. Clean a pop-up sink plug every few months, and soak a removed plug in vinegar or a lime remover to remove any buildup. Check and tighten the pivot rod under the sink, and gently straighten any bent rod with pliers.
Installation
To install the new pop-up sink plug, push the piece through the drain opening from under the sink, and fit the drain ring into the opening from above the sink. Insert the pivot rod into the opening on the side of the tailpiece for pop-up sink plugs that have a pivot/pull rod. Tighten the assembly under the sink, with the opening in the tailpiece pointed straight towards the back wall.
Before connecting the new drain assembly, apply a thin layer of pipe joint compound to the rubber washer that will be fitting against the sink. Finally, reconnect the P-trap to the drainpipe and tailpiece.
With these steps, you can keep your pop-up sink plug functioning smoothly and efficiently. Regular maintenance and prompt action when issues arise can help prevent more significant problems down the line.
- The pop-up mechanism within your home's bathroom, which includes a horizontal pivot rod and a vertical lift rod, should be checked for smooth movement to ensure the functionality of your pop-up sink plug.
- To guide you in maintaining and cleaning your pop-up sink plug, consider regular maintenance every few months, including soaking the removed plug in vinegar or lime remover, tightening the pivot rod under the sink, and gently straightening any bent rod with pliers.
- If damaged parts like the stopper, ball rod, or pivot assembly are identified, replace them or purchase a pop-up drain repair kit to fix most pop-up sink plug issues quickly.
- Home-and-garden lifestyle enthusiasts may find the installation process of a new pop-up sink plug involving pushing the piece through the drain opening from under the sink, fitting the drain ring, inserting the pivot rod, tightening the assembly, applying pipe joint compound, and reconnecting the P-trap useful for their home improvement projects.
- Remember, a comprehensive design of your lifestyle and living space, including your home's bathrooms, can significantly contribute to your overall comfort and enjoyment – consider factoring in the functionality and aesthetic appeal of pop-up sink plugs in your home-and-garden ideas.


